Easy step-by-step directions for kids to DIY a snow globe for the holidays, or any time of year.
Though the directions for these glitter-filled jars focus on Christmas, try putting whatever inspires you in the globe—think woodland animals in a snowy outdoor scene, a tropical underwater paradise, or even a favorite team’s mascot.
Materials
|
Directions
 |
| 1. Paint the lid of the jar (you may wish to sand it lightly before painting) with silver paint and let it dry completely. If required, apply a second coat of paint for better coverage and again leave to dry. |
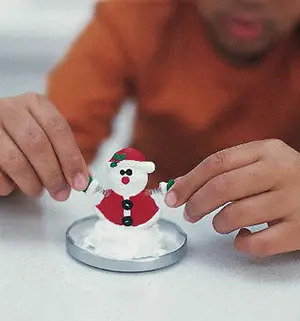 |
| 2. Use strong glue to attach the decoration to the inside of the jar lid. If the decoration is on the small side, build up a small mound using waterproof tile adhesive and press the decoration firmly into this. Leave until completely dry. |
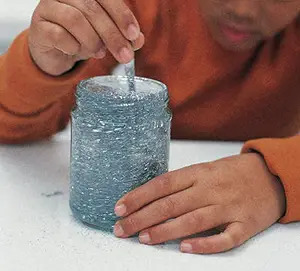 |
| 3. Use a pitcher to pour the distilled water into the jar. Fill it almost to the brim. Stir in 2 teaspoons of glycerin and ½ teaspoon of dishwashing liquid. Add 5 or 6 spoonfuls of glitter to the water. White or silver glitter looks most similar to snow, although bright colors like red or green can look very jolly and festive. |
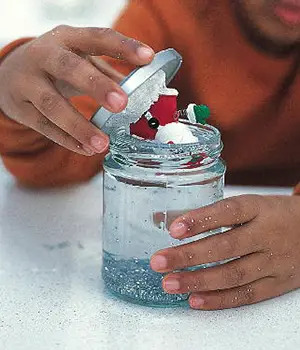 |
| 4. Carefully place the lid on the top of the jar and screw the lid tightly in place. The jar should be watertight, but you may wish to seal it around the edges with a thin layer of silicon sealant. Turn the jar upside down, so the decoration is the right way up. |
|
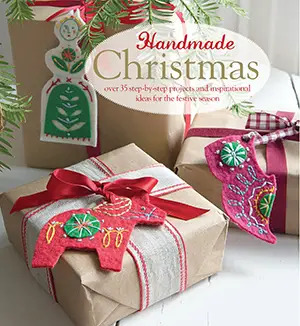
Handmade Christmas is published by Cico Books; this project is by Catherine Woram with photography by Polly Wreford. |
 |
RELATED:
Find Art Classes for Kids in Your Area
Get Holiday Activities Sent to Your Inbox
